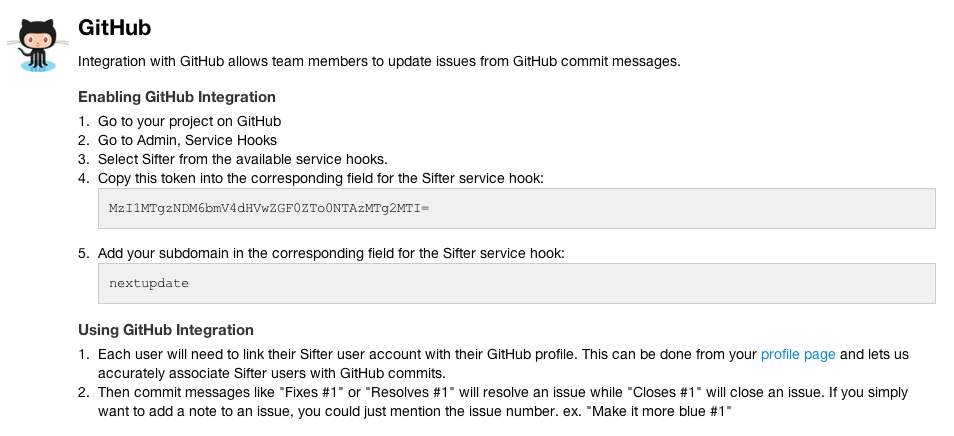
To get started, head over to the “Project Settings > Integrations” page for the project you want to connect with GitHub.


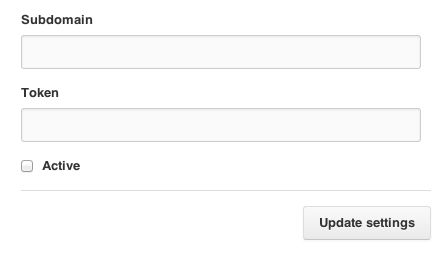
Next, go to your GitHub repository and visit the “Settings > Service Hooks” page for your repository. Scroll down and choose Sifter. (You’ll likely have to manually scroll back to the top for the next step after choosing Sifter.) From there you add your subdomain and token to the relevant fields and save your changes.

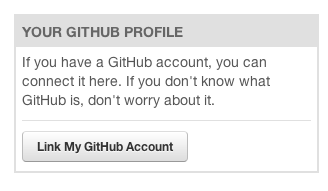
Now your project is connected to your GitHub repository, but we’re not done yet. Each user, including you, will have to make sure your Sifter user profile is linked with your GitHub profile. You can do this by going to your Sifter profile page, and choosing “Link My GitHub Account” from the side bar. You’ll be redirected to GitHub and asked to authorize Sifter to access your account. Remember, each individual user will need to complete this process before they’ll be able to update issues via GitHub commits.
Once your profiles are linked, you’re all set. Just add a message like “Resolves #5”, “Fixes #5” (equivalent to resolving) or “Closes #5”, and we’ll automatically update the issue once you push your commits. You can even just mention an issue number if you want to comment but don’t want to update the issue’s status. Sifter’s also pretty flexible and will gladly accept alternate forms of the status commands like “Resolve”, “Resolved”, “Close”, “Closed”, “Fix”, “Fixed”.


Last but not least, when you update an issue through GitHub we’ll add a reference link from within Sifter back to the code that fixed the issue. This lets you quickly dive into GitHub to see the related code.
Of course, if you have any problems, questions, or concerns, please don’t hesitate to reach out. And, if GitHub isn’t your thing, don’t forget that we also integrate nicely with Beanstalk.